
Motivation and Introduction
SolidJS ranked #1 in the 2021 “State of JS Front-End Frameworks”, so we wanted to see what the fuzz is about and give it a proper chance with a side project. We started with a simple Single Page Application (SPA) and a few components but wanted to add data with GraphQL. For GraphQL we needed some sort of authentication, to identify users. This quickly turned more complex day by day. The biggest pitfalls and challenges were understanding Reactivity in SolidJS and the use of context providers. Last but not least, we wanted to add some server-side rendering capabilities, which lead to a three week rabbit hole of reading SolidJS code, Fastify Vite and lots of trial and error. Fortunately, Jonas Galvez was already working on Fastify DX a new full stack framework based on Fastify and Vite, where he added support for SolidJS as well. A nice side effect was that we not only have server-side rendering, but also async rendering, streaming web components/html streaming1 available, which is pretty awesome. As most of this is new and a lot of those technologies are barely documented past “Hello World” or “Todo List”, we decided to extract the most important/difficult parts of our project into this “Real World Application with SolidJS and Fastify DX”.
TLDR; You can skip ahead and browse through the code on GitHub: Fastify DX with SolidJS
Overview of The Real World Application
Foreword: SolidJS looks a bit like React, but it really isn’t. Things like
.map() shouldn’t be done, as it’s not “reactive”. Make sure you read up on
SolidJS Reactivity and the basic
concepts, otherwise you’ll run into a lot of issues that are simple to avoid.
Let’s start with data. We live in amazing times and it’s really easy and cheap (or free) to get started with storing and working with data online. Take for example a PlanetScale MySQL-compatible database, Fastify Node.js Server, Prisma database mapper and a GraphQL connector like Mercurius and you have an entire backend stack. For this example we assume you already have a backend or you want to connect to a 3rd party database like the GitHub GraphQL API.
To retrieve data from your own or a 3rd party API, you most likely need access tokens, this is where Auth0 comes in. You can either retrieve JWT tokens for your own back-end and decrypt them on your API, or retrieve access tokens for the social providers such as GitHub, etc. to interact with their API. In our example we decided to use the GitHub GraphQL API to simply retrieve a list of popular repositories for the logged in user, and let them browser to the repository detail page.
To sum up the architecture:
- Front-end: SolidJS
- Server-side rendering & streaming: Fastify DX
- Data layer: GraphQL
- Backend: GitHub GraphQL API
- Authentication: Auth0 with GitHub Social Connection
Let’s get started with the authentication setup.
Getting started with Auth0
Hint: There’s a env.example file in the repository which you can rename to
.env and store the variables from the next few steps.
Auth0 provides the auth0-spa-js package which offers two ways to authenticate users:
- login with popup
- login with redirect
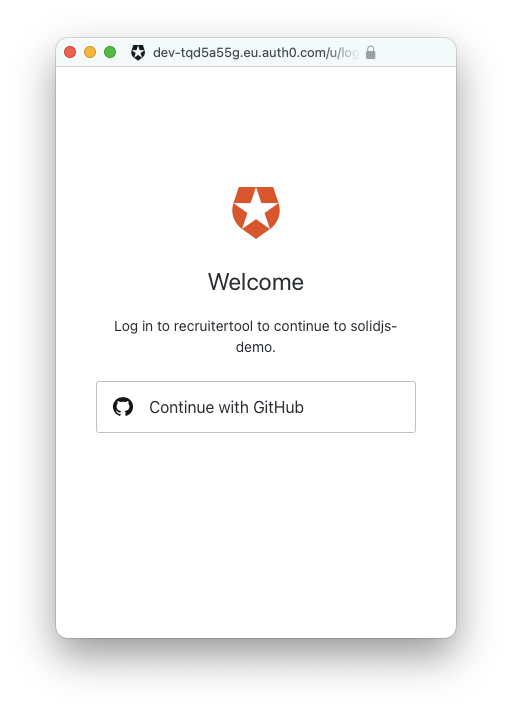
Usually the login with redirect is preferable, but there are some issues retaining the state / session when coming back from the login, so we’re currently using “login with popup”. The function opens “Auth0 Lock”, a pre-defined UI that has all the different authentication mechanisms that are enabled for the application, and can be customized in the Auth0 settings. In order to retrieve GitHub access tokens, we need:
- Auth0 Single Page Application to handle the login on our web app
- GitHub OAuth App to communicate with Auth0 securely and issue GraphQL API tokens
- Auth0 Machine to Machine Application to retrieve access tokens for the GitHub GraqhQL API through Auth0
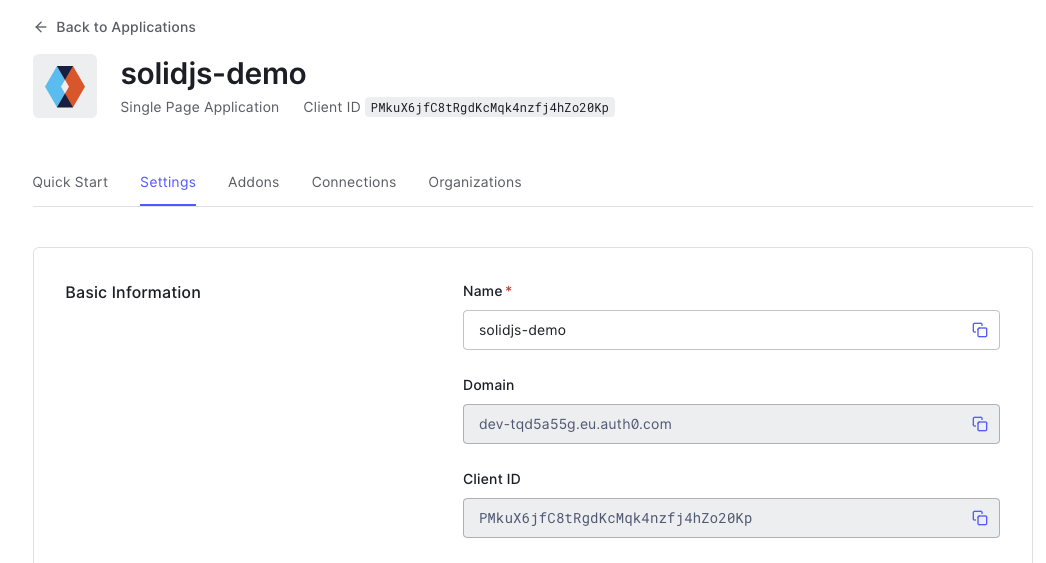
Auth0 Single Page Application
This is the primary Auth0 application we’ll use. Create a new Single Page
Application in Auth0 and copy the client id and domain into .env, (variables
starting with VITE_AUTH0_). Make sure you add http://localhost:8080 to the
Allowed Callback URL, Allowed Web Origin and Allowed Origin.
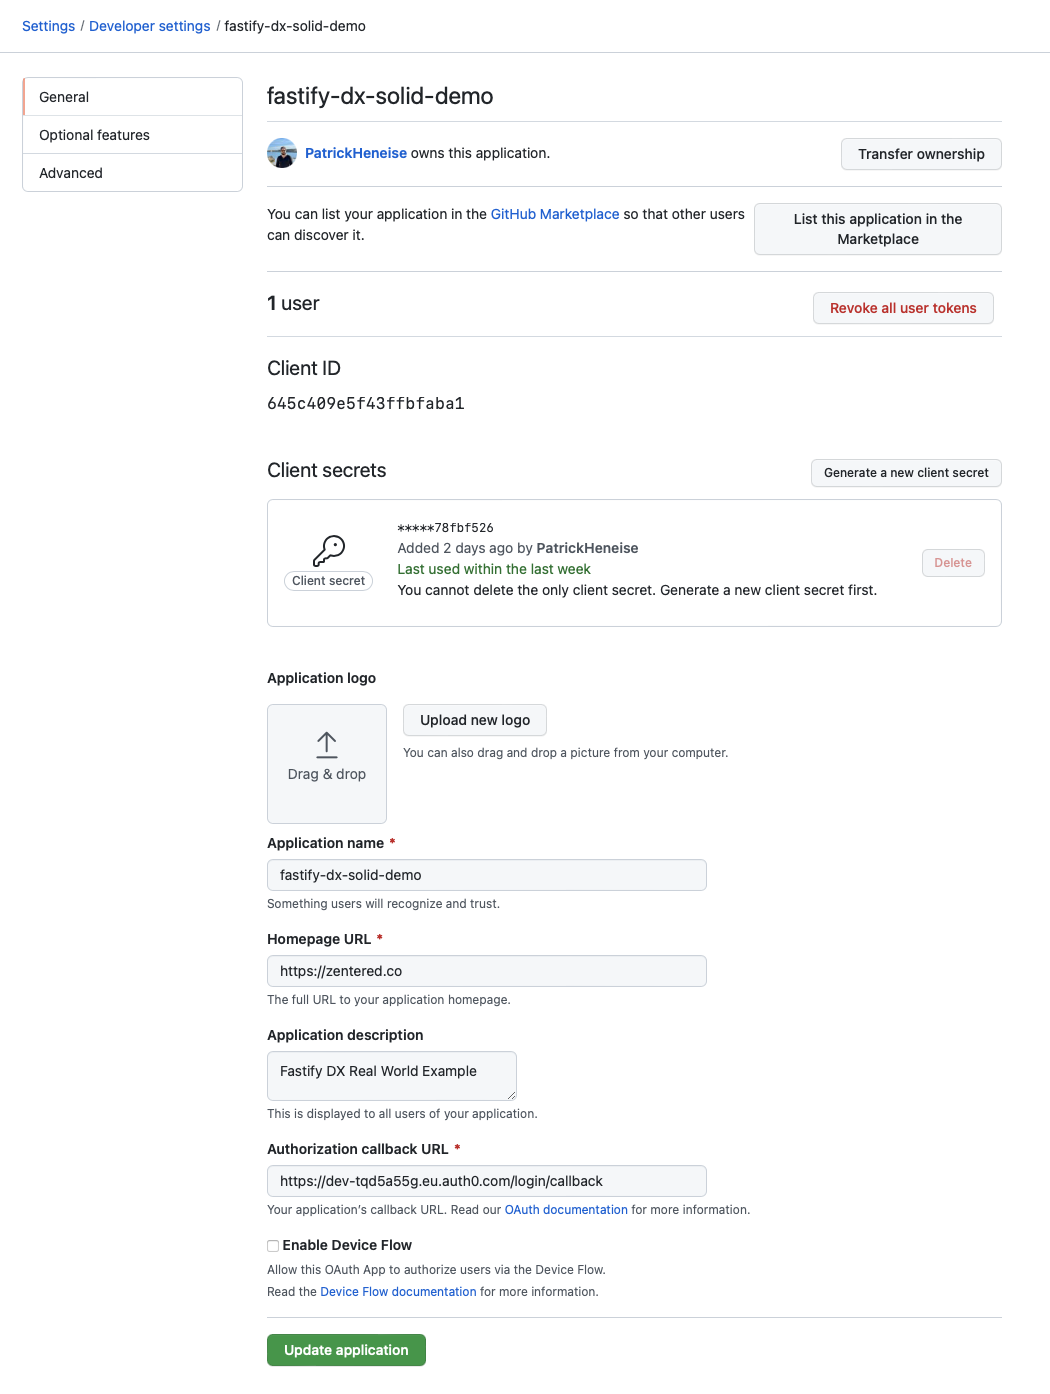
GitHub OAuth App
Go into your Developer Settings and
create a new OAuth App. Name, homepage etc. are not important, but the
Authorization callback URL needs to point to your Auth0 Tenant. You can get
the domain in your Auth0 application settings:
https://<auth0-app-DOMAIN>.auth0.com.

Auth0 Social Connections
Go to Authentication -> Social and Create Connection. Select GitHub. Pick a
name and copy the Client ID from your GitHub OAuth App. Go back to the GitHub
OAuth App settings and click Create a new client secret. Copy that into the
Client Secret in the Auth0 connection details. For this app we only need
public_repo as a permission. You should enable
Sync user profile attribute at each login to retrieve the user details from
GitHub.
After saving, go back to your Single Page Application, to the tab Connections
and add the GitHub Social Connection. You should disable the Database connection
to avoid issues later.
Auth0 Machine to Machine Application
We use a Machine to Machine Application to retrieve the Access Token for the GitHub API through Auth0. This can’t be done directly on the client.
Go back to Applications, Create Application and pick
Machine to Machine Application. Enter a name, and copy the client id, secret
and domain into .env (variables starting with AUTH0_). Go to APIs and
Authorize the application to the Auth0 Management API. The only permission
needed is read:user_idp_tokens.
Auth Summary
The above steps look complicated, but they’re actually just a few clicks and values to copy&paste to have a complete and secure user authentication setup. The UI and UX comes out of the box from Auth0, so there’s very little we need to do for a great signup experience.
We created two “Auth0 Applications”, the Single Page App to handle all things login/user/etc. and the Machine to Machine App/Client to talk to the Management API for the GitHub Access Tokens. We also created a GitHub OAuth App and connected that with Auth0, so they can talk to each other and retrieve tokens. This will allow us to:
- handle user login and signup through “Auth0 Lock”
- synchronize user data from GitHub to the Auth0 profile
- issue JWT tokens for our own web app and back-end
- retrieve GitHub access tokens for the GraphQL API on our web server
Now, to the code!

Fastify DX
Fastify DX is rad. You can use it with Vue, React, Svelte etc. and it runs on our most beloved Node.js framework Fastify. Here’s all we need to start a server:
import Fastify from 'fastify'
import FastifyVite from 'fastify-vite'
import FastifyDXSolid from 'fastify-dx-solid'

const port = process.env.PORT ?? 5000
const logger = process.env.LOGGER ?? false

const server = Fastify({
  logger: logger
})

await server.register(FastifyVite, {
  root: import.meta.url,
  renderer: FastifyDXSolid
})

await server.vite.ready()
await server.listen({ host: '0.0.0.0', port: port })
There’s not much going on here; we’re starting up Fastify and use the FastifyVite plugin to build and render the Vite app on the fly. But since this is a fully functional web server, we can also add our code to retrieve the GitHub Access Tokens for the UI that we’ll need later:
import { ManagementClient } from 'auth0'

server.post('/api/token', async (request, reply) => {
  const userId = request.body.userId

  const management = new ManagementClient({
    domain: process.env.AUTH0_DOMAIN,
    clientId: process.env.AUTH0_CLIENT_ID,
    clientSecret: process.env.AUTH0_CLIENT_SECRET,
    scope: 'read:user_idp_tokens'
  })

  const user = await management.getUser({ id: userId })
  if (user && user.identities) {
    return reply.send({ token: user.identities[0].access_token })
  }
  return reply.send({ ok: true })
})
In our vite.config.js we’ll add the SolidJS plugins and everything else needed
to render and build the SolidJS App. We’ll also add the
unocss engine. Some modules such as
solid-app-router or solid-headless require special handling for SSR, so they
have to be added into the noExternal array in the config.
import { defineConfig } from 'vite'
import viteSolid from 'vite-plugin-solid'
import unocss from 'unocss/vite'
import viteSolidFastifyDX from 'fastify-dx-solid/plugin'
import { join, dirname } from 'path'
import { presetAttributify, presetUno, presetTypography } from 'unocss'
import { fileURLToPath } from 'url'

const path = fileURLToPath(import.meta.url)
const root = join(dirname(path), 'src') // 'client', 'src', ...

export default defineConfig({
  root: root,
  plugins: [
    viteSolid({ ssr: true }),
    viteSolidFastifyDX(),
    unocss({
      presets: [presetUno(), presetAttributify(), presetTypography()]
    })
  ],
  ssr: {
    noExternal: ['solid-app-router']
  }
})
To get your app up and running, copy the context.js, index.html, index.js
and root.jsx from the src/ folder or directly from the
Fastify DX Solid Starter Kit
(or the TypeScript version here:
Fastify DX Solid-TS).
When running pnpm dev, you should get a basic web server up and running
already, so let’s move forward to the SolidJS app. Any errors, refer to the
example code or the Fastify DX starter kit, there are a few tiny details which
are easy to miss (so best just copy & paste).
SolidJS
At the time of putting together this application, this was the documented
example for renderToStream:
// node
renderToStream(App).pipe(res)

// web stream
const { readable, writable } = new TransformStream()
renderToStream(App).pipeTo(writable)
That’s not much to go with, so this has been quite a challenge, mostly solved by
Jonas with Fastify DX. With SSR and streaming, there come a few new issues that
require special attention; the fact that some parts are pre-rendered on the
server and have a different context and state. Fastify DX provides context.js,
a way to share state between client and server, which is super helpful. Using
the context providers properly and taking care of the reactivity chain is a
must.
To make things slightly easier, we require auth for our entire app, so there are no authenticated/unauthenticated routes to deal with. We also need the data (GraphQL) context pretty much everywhere, so we’ll wrap our app in those two contexts:
<Auth>
  <GraphQL>
    <App />
  </GraphQL>
</Auth>
The tricky part is that auth and GraphQL are both async, means we’ll have to wait for the auth client to be initialized and authenticated, and then initialize and authenticate the GraphQL client. This was very painful to figure out and lucky for you I’ve gone through that ordeal so you can just copy&paste the solution:
return (
  <Auth0
    domain={import.meta.env.VITE_AUTH0_DOMAIN}
    clientId={import.meta.env.VITE_AUTH0_CLIENT_ID}
  >
    <SiteRequiresAuth>
      <Router url={props.url}>
        <Routes>
          {
            // eslint-disable-next-line solid/prefer-for
            props.payload.routes.map((route) => (
              <Route
                path={route.path}
                element={
                  <DXRoute
                    state={props.payload.serverRoute.state}
                    path={route.path}
                    payload={props.payload}
                    component={route.component}
                  />
                }
              />
            ))
          }
        </Routes>
      </Router>
    </SiteRequiresAuth>
  </Auth0>
)
Since we’re on the front-end, process.env doens’t work; we use
import.meta.env instead. Vite automatically exposes all variables that are
prefixed with VITE_. The Auth0 context provides a client and [reactive
Signals](https://www.solidjs.com/guides/reactivity#introducing-primitives], but
those is only available within the Auth0 context provider, so we’ll need a
wrapper function SiteRequiresAuth to get the initialized Auth0 context, fetch
the GitHub access token and initialize the GraphQL client. Only then do we show
any content of the site.
function SiteRequiresAuth(props) {
  const auth0 = useAuth0()
  const [accessToken] = createResource(() => auth0.userId(), githubAuth)

  return (
    <Show
      when={auth0.isInitialized() && auth0.isAuthenticated()}
      fallback={<Login auth0={auth0} />}
    >
      <Show when={accessToken()}>
        <GraphQLProvider accessToken={accessToken}>
          {props.children}
        </GraphQLProvider>
      </Show>
    </Show>
  )
}
At this point I’d recommend to read up on Basic Reactivity and get familiar with the primitives.
We use the control flow functions <Show>, as they update when the signals (ie.
isInitialized()) change or when the asynchronous resource accessToken is
ready. As long as the Auth0 client is not initialized or authenticated, we’ll
show the Login component. Once those are ready, we’ll have to wait again for the
accessToken and then finally show the rest of the site.
The context providers are fairly useful now, as the variables are available
through the entire site. Anywhere, you can just const auth = useAuth0() and
run auth.user() to fetch the user details for example.
Fetching Data

Now that we have an authenticated GraphQL client, we’re able to run queries, mutations etc. easily. Here’s an example to retrieve the 10 “most starred” repos:
import { gql } from '@urql/core'
import { useGraphQL } from '../contexts/GraphQL'

export default async function repos() {
  const gqlClient = useGraphQL()
  return gqlClient()
    ?.query(
      gql`
        query ($number_of_repos: Int!) {
          viewer {
            name
            repositories(
              orderBy: { field: STARGAZERS, direction: DESC }
              first: $number_of_repos
            ) {
              nodes {
                name
                stargazerCount
              }
            }
            login
          }
        }
      `,
      {
        number_of_repos: 10
      }
    )
    .toPromise()
}
We’re retrieving the (authenticated) client context and run the query, simple.
import dataGitHubRepos from '../data/github-repos.data'
const [repos] = createResource(dataGitHubRepos)
createResource is a
SolidJS reactive component
that processes async data and hydrates the components. This can be
async/sync/streamed/…
Pages & Routing
Fastify DX follows the same routing principles as Next.js
and Remix. The first page is /pages/index.{js|ts} and
other pages can be linked to by using
solid-app-router.
<Link href="/dashboard">Dashboard</Link> would link to
/pages/dashboard.{js|ts} and
<Link href="/articles/awesome-solidjs">SolidJS Article</Link> would link to
/pages/articles/[id].{js|ts}. SSR, Streaming etc. can be fine-tuned by
exporting variables in the page. Check out the examples for streaming, SSR, etc.
in the
fastify dx starter kit
Components
Components work fairly similar to React, you can either import or
lazy() load them. Make sure
you use reactive primitives such as Signals, Memos, Resources etc. and pass them
to the component. SolidJS re-renders the component when the values change.
“Debugging” with console.log is fairly useless, as most variables are only
updated when the reactive signals kick in. Sometimes just using
<div>{val()}</div> helps to see what’s going on, but we’re definitely looking
for better ways to debug code in SolidJS.
Useful Links, Caveats and TODOs
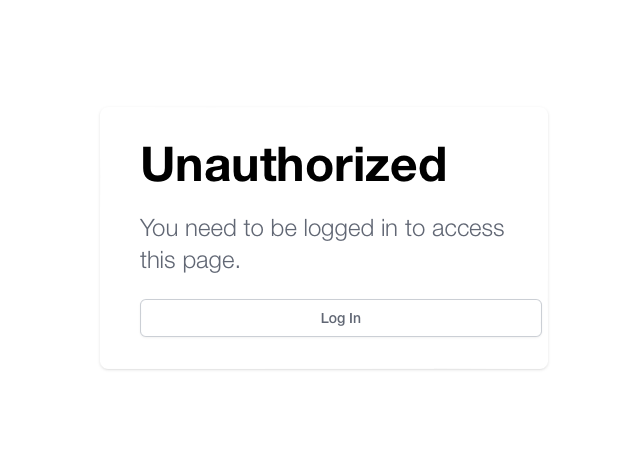
One issue at the moment is the hard refresh. The state is lost, the cookies gone and the application shows our login screen. That’s fairly annoying during development.
Another dent in the developer experience are unhandled client-side errors. They break the reload/fresh cycle and the app becomes unresponsive. A full reload is needed, causing the login screen to show again.
Fastify DX also offers data function and a really amazing shared context,
which we’d like to add some more examples for.
Questions, discussion and feedback

Everything looks simple after the fact, but this was a lot of work and effort to piece together all the components and figure out how things fit together. We’re hoping to resolve the last few issues and have a boilerplate or starting point for your next SolidJS application, that you can use and not go through the same issues again.
Special Thanks to Jonas Galvez for the amazing work at Fastify DX and the long, late night discussions we had.
Thanks to the entire SolidJS team for this new exciting framework. Feels great to work with and we’re looking forward to build more apps with SolidJS.
You can find the source code here: Fastify DX and SolidJS Example on GitHub.
If you have any questions or comments, please reach out on Bluesky or join the discussion on GitHub.
